 WordPress is an awesome tool to use and blog but when it comes down to installing a wordpress on you system or on a remote server its a mess. It requires a lot of knowledge about sql,php and apache (or what ever you are using as your web server). In this post I’ll teach you how to install,configure and also do some fun tricks with your new installation of wordpress.
So first let’s begin with installation of wordpress on your system(Installation on a remote server is approximately similar to this only).
WordPress needs 3 major components : an SQL server to store all the data like the Posts,Comments and other configurations, a PHP server to be able to query data from the SQL server and display it on an a web page and the last thing is an apache server(You know what apache is use for :P)
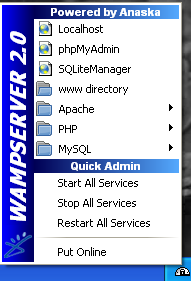
So you can install all these servers individually or as I recommend install WAMP (Windows Apache MySql PHP) Click Here. Download it and install anywhere on your system. Once done click on the wamp server icon on the notification area and put it online.
Now we are ready to install the wordpress. So go to WordPress.org and get yourself a brand new copy of WordPress. Extract it and place it in the www folder of the wamp installation we just did(usually it is C:\wamp\www).
Let us now configure the wordpress so the first thing we are gonna do is to create a new database for wordpress. To do that follow the steps:-
- Open your browser and type in http://localhost/phpmyadmin/
- There is a text box under the heading Create a new database. Type in your desired name and click Create.
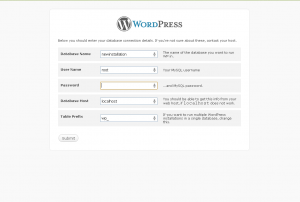
To install your wordpress go to http://localhost/. Under the Your Projects section you will see the folder we extracted before named wordpress. Click on that. It will ask you to configure the wp-config file click on Create a Configuration File. Now replace the field designated as Database Name to the one you made before in phpmyadmin. In place of Username type root which is the default leave the password filed blank and click Submit. In case of users who want to install this system on a remote server you password will be the same of that of your admin login name. Click on Run Install. You would be prompted to add your blog name ,username,password and Email-ID. Click install and you are up.
Login using your username and password.
Once done now there are some things you would like to change like your ssl security(Which allows you to open your admin page with https protocol). So for this you would need to open the wamp version of MySql Console.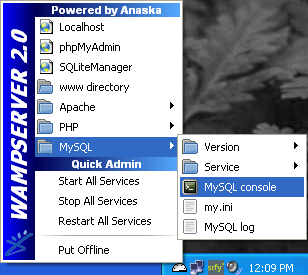
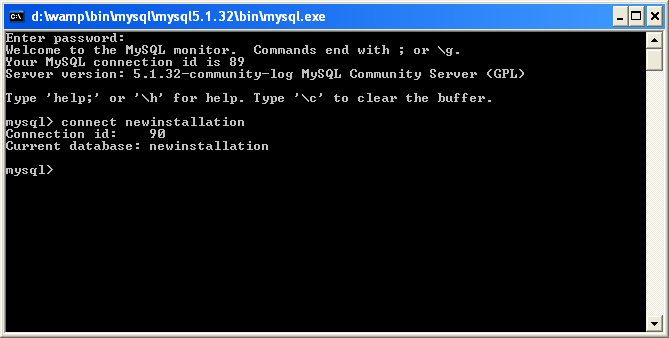
Press enter when prompted about entering password. Issue the command
connect yourdatabasename
Once the above screen is displayed issue the command
UPDATE wp_usermeta SET meta_value=1 WHERE umeta_id=8;
and now your admin page will have ssl encryption.
By default wordpress shows only 10 of your last feeds in the rss. If you want to increase it issue the following command in the MySql Console
UPDATE wp_options SET option_value=20 WHERE option_name=”post_per_rss”;
For any queries feel free to post a comment






I like the template of your site! It looks really full.
A lot of thanks for all your efforts on this site. Gloria loves engaging in investigation and it’s easy to understand why. Almost all know all concerning the dynamic means you give important secrets on the web blog and as well encourage contribution from others on that concern plus our daughter is always discovering a lot. Have fun with the remaining portion of the new year. You’re the one conducting a good job.